
Running code-server on a remote workstation, bound to my VPN
Published:
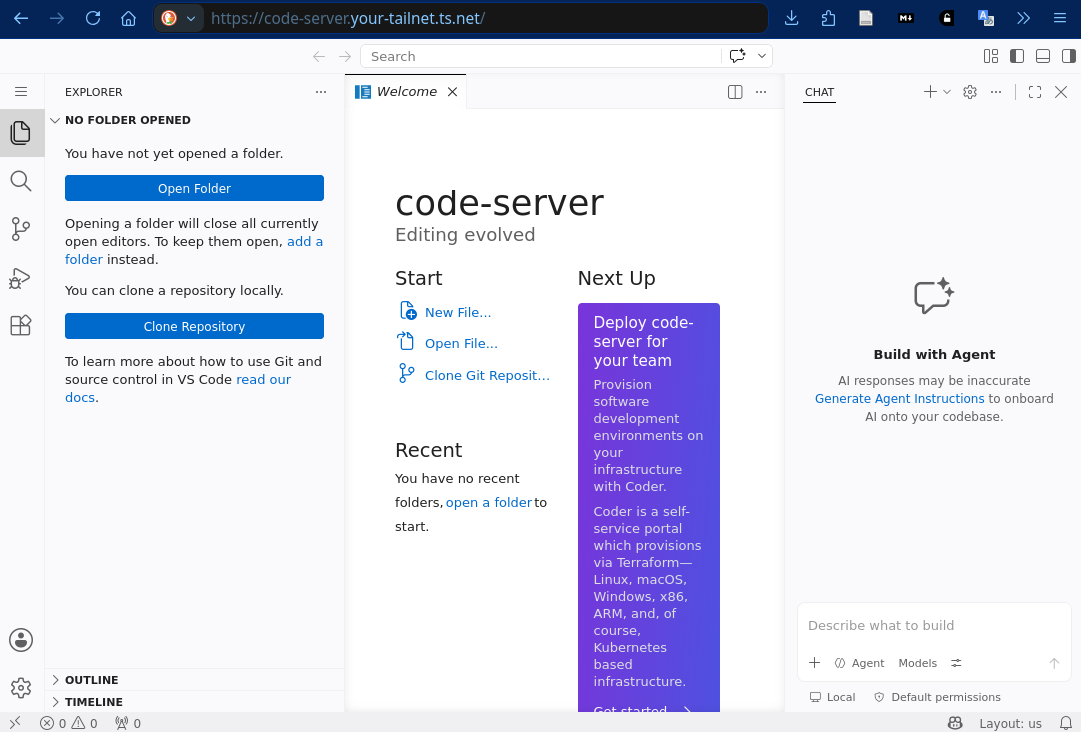
I bought a cheap Chromebook because I was just curious about, got it very cheap, almost free, and quickly realized VS Code’s desktop app is not something you want to run on a dual-core Celeron with 4GB of RAM. The plan instead: run the editor on one of my homelab boxes and just hit it from the browser. code-server does exactly that, but getting it installed on Fedora CoreOS without touching the base image (and without exposing it past Tailscale) took a bit more care than the install docs let on.
Why not just use the installer as-is
code-server ships a one-line installer:
curl -fsSL https://code-server.dev/install.sh | sh
Looks harmless, but if you actually read the script, on Fedora it defaults to this path:
fedora | opensuse) npm_fallback install_rpm ;;
which runs sudo rpm -U package.rpm under the hood. That’s a system-wide install requiring root, and it fights rpm-ostree’s transactional model on an immutable host. Not what I wanted on CoreOS. The script does have a standalone mode that installs into ~/.local with no root and no package manager involved at all, it just isn’t the default.
How to do it?
Step 1: Install in standalone mode, which keeps everything inside your home directory:
curl -fsSL https://code-server.dev/install.sh | sh -s -- --method=standalone
Step 2: Make sure ~/.local/bin is actually on your PATH (CoreOS’s default profile doesn’t include it):
echo 'export PATH="$HOME/.local/bin:$PATH"' >> ~/.bashrc
source ~/.bashrc
Step 3: Write a minimal config at ~/.config/code-server/config.yaml that only listens on the machine’s localhost or your private VPNs address, Tailscale address, not on all interfaces:
bind-addr: 100.x.x.x:8080
auth: password
password: some-long-random-string
cert: false
I used a real password here instead of auth: none. Tailscale ACLs already gate who can reach the tailnet, but binding to the Tailscale IP directly (rather than 127.0.0.1 plus some separate tunneling step) means the port is only reachable at all through the tailnet interface, so a password is just a second layer that costs nothing. Though, it is not safe as it is written in plain text in the home folder.
Step 4: Set it up as a systemd user service so it survives reboots without needing an active login shell:
[Unit]
Description=code-server
After=network-online.target

[Service]
ExecStart=%h/.local/bin/code-server
Restart=always

[Install]
WantedBy=default.target
Save that as ~/.config/systemd/user/code-server.service, then:
systemctl --user daemon-reload
systemctl --user enable --now code-server
sudo loginctl enable-linger $USER
The loginctl enable-linger step matters, without it the service dies as soon as you log out of the SSH session that started it.
Testing it
From the Chromebook, over Tailscale, not the public internet:
curl -I http://100.x.x.x:8080
HTTP/1.1 200 OK
And from the browser, hitting http://100.x.x.x:8080 (or the MagicDNS name if you’ve set that up) should drop you straight into the login prompt, then the full VS Code UI, running entirely on the remote box.
Serving it with tailscale serve instead of a raw bind
Binding directly to the Tailscale IP works, but there’s a cleaner way that also gets you HTTPS with a proper cert: tailscale serve with a named Service. Instead of exposing the raw 100.x.x.x:8080 address, this gives code-server a real HTTPS URL on your tailnet’s MagicDNS domain.
Step 1: Point code-server at localhost only, since tailscale serve will handle the tailnet-facing side:
bind-addr: 127.0.0.1:8080
auth: password
password: some-long-random-string
cert: false
Step 2: Advertise it as a named Service:
tailscale serve --service=svc:code-server --bg --https=443 http://127.0.0.1:8080
That should return something like:
tailscale serve --service=svc:code-server --bg --https=443 http://127.0.0.1:8080
Available within your tailnet: https://code-server.your-tailnet.ts.net/
The --service=svc:code-server bit is what makes this different from a plain tailscale serve, it names the thing as a proper Service rather than just exposing a port on the current node, which matters if you ever want to move it to another machine later without changing the URL everyone (well, you) connects to.
One thing worth calling out: before --service=svc:code-server will actually work, the Service itself needs to exist in your tailnet, you can’t just invent a name on the command line and have it appear. Head to the Tailscale admin console, under Services, and create one named code-server there first (or via the declarative config file if you’re managing your tailnet that way). Once it’s defined and your node is approved to host it, the tailscale serve --service=svc:code-server ... command above will attach to that Service rather than failing or silently doing nothing.
Step 3: Check it’s actually up:
tailscale serve status
Step 4: If you need to take it down later, don’t just kill the service, drain it first so any open connections close gracefully:
tailscale serve --service=svc:code-server --https=443 off
One gotcha: the --bg flag matters if you want this to survive reboots or tailscale down/up cycles without manual intervention. Without it, restarting Tailscale drops the serve config and you have to re-run the command by hand.
How to uninstall it
Since it’s a standalone install with no package manager involved, uninstalling is just removing files and the service:
Step 1: Stop and disable the service:
systemctl --user disable --now code-server
Step 2: Remove the service file:
rm ~/.config/systemd/user/code-server.service
systemctl --user daemon-reload
Step 3: Remove the binary and installed files:
rm -rf ~/.local/lib/code-server-*
rm ~/.local/bin/code-server
Step 4: Remove config and data (your settings, extensions, etc.):
rm -rf ~/.config/code-server
rm -rf ~/.local/share/code-server
Step 5 (optional): Clear the install cache:
rm -rf ~/.cache/code-server
Step 6 (optional): If you enabled lingering just for this service and don’t need it for anything else running under your user:
sudo loginctl disable-linger $USER
That’s it, nothing touches the base CoreOS image since it was never involved in the first place. If you also set a Tailscale ACL rule specifically to allow reaching port 8080, worth cleaning that up too so it doesn’t linger as an unused rule.
Notes
- The installer’s default “detect” mode will try
sudo rpm -Uon Fedora. Always pass--method=standaloneon CoreOS or anything immutable, or you’ll get a permission prompt you didn’t expect. - There’s no auto-update mechanism with the standalone method. Updating means re-running the install script (it pulls whatever’s latest and just symlinks the new binary in) and restarting the service. Old versions pile up quietly in
~/.local/libuntil you clean them out by hand. - Binding to
127.0.0.1and expecting Tailscale to somehow expose it doesn’t work on its own, you either bind directly to the Tailscale interface IP (what I did here) or usetailscale servein front of a loopback-bound service. Worth knowing before you spend ten minutes wondering why the port is unreachable. code tunnel(Microsoft’s own tool) is a faster path to the same result, but it routes traffic through Microsoft’s relay servers instead of staying inside your own network. Given everything else here already runs on Tailscale, self-hosting code-server was the more consistent choice.
